This guide is written by Ann, FKY's Sales Director & B2B Belt Project Consultant, for product teams sourcing custom belt programs. It offers a buyer framework, not legal, compliance or test advice; verify product-specific requirements with the appropriate professionals and evidence.
01.
Define what ‘quick release’ must mean to the user
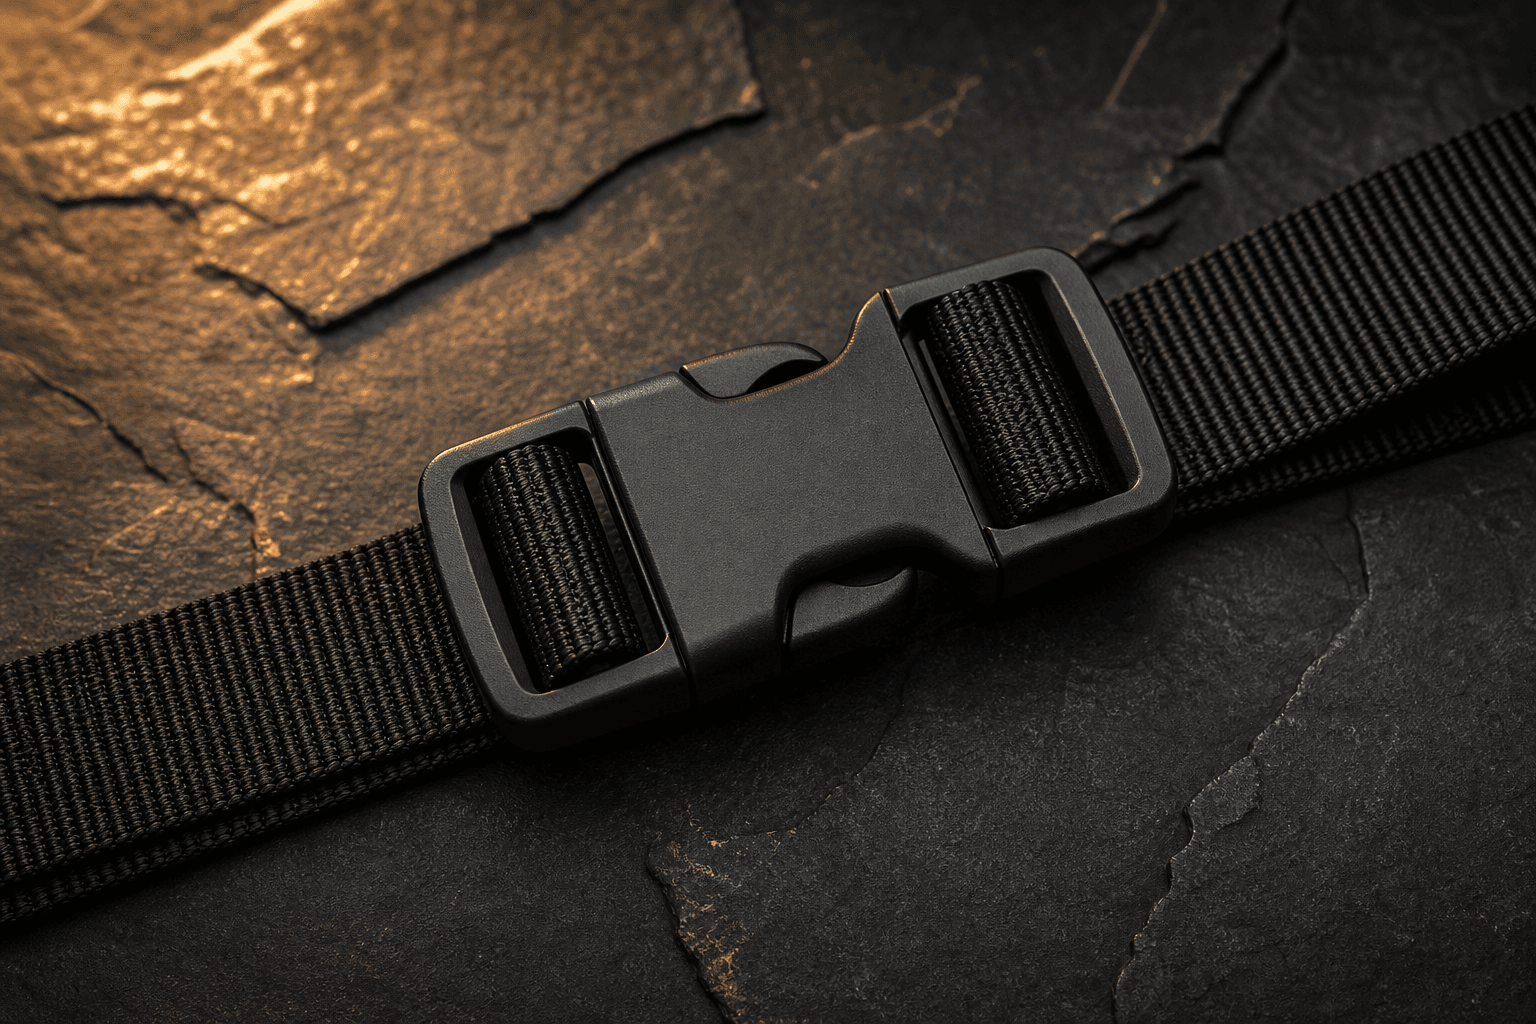
Quick-release describes a category of user experience, not one universal mechanism. A buyer should first explain the intended interaction: must the wearer release the belt quickly with one hand, adjust it frequently, wear it over layers or simply value a clean modern look? The answer changes the appropriate hardware direction and the questions a supplier needs to ask.
Do not start with the strongest-looking buckle image. Start with the wearer’s moment of use. Describe who is handling the belt, whether gloves or limited dexterity are relevant, the styling context and how the belt will be merchandised. This keeps the product brief anchored in a real customer journey rather than an isolated component.
- Release and adjustment action expected by the wearer
- Strap width and the way it enters the buckle
- Visual weight appropriate to the product
- Market, compliance and validation requirements
02.
Review buckle and webbing as one interface
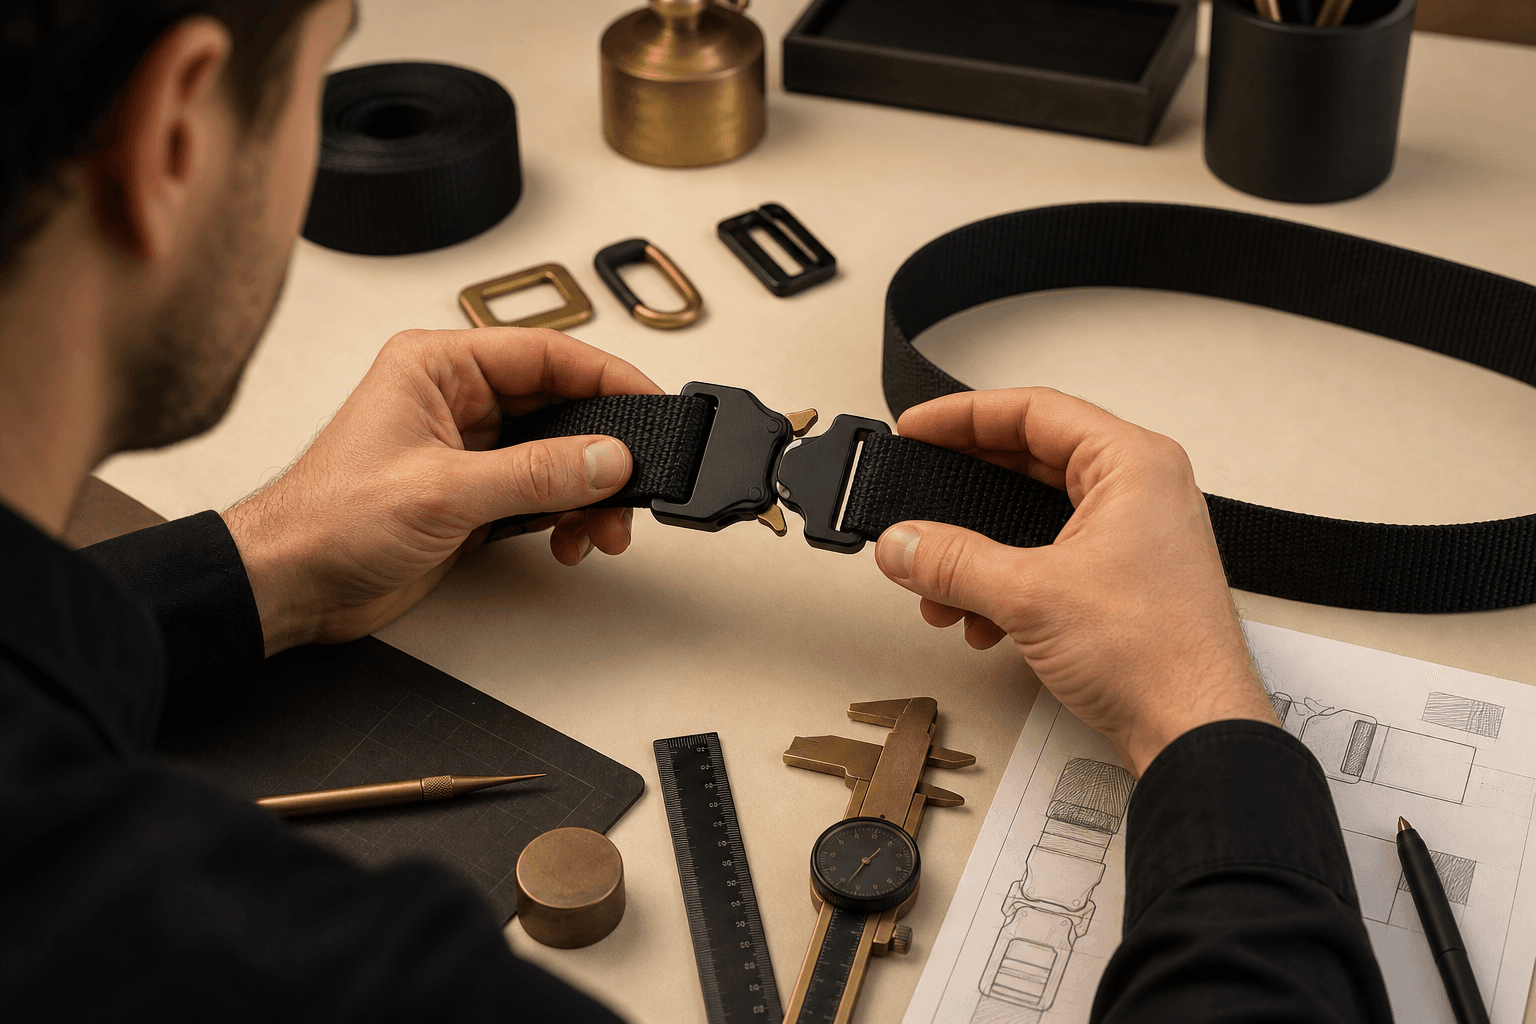
A buckle can only be judged in the webbing configuration that the customer will use. Assemble a sample with the proposed strap, keeper and end treatment. Thread it repeatedly, adjust it, release it and inspect it from the front and side. Ask whether the webbing lies flat, whether the profile feels proportionate and whether the adjustment path supports the intended use.
This review is where a buyer should identify questions instead of accepting assumptions. If the product has a critical load, safety or compliance requirement, define the requirement explicitly and seek the appropriate test or technical review. A demonstration of a mechanism is not a substitute for evidence relevant to your product and market.
03.
Choose a finish that supports the product story
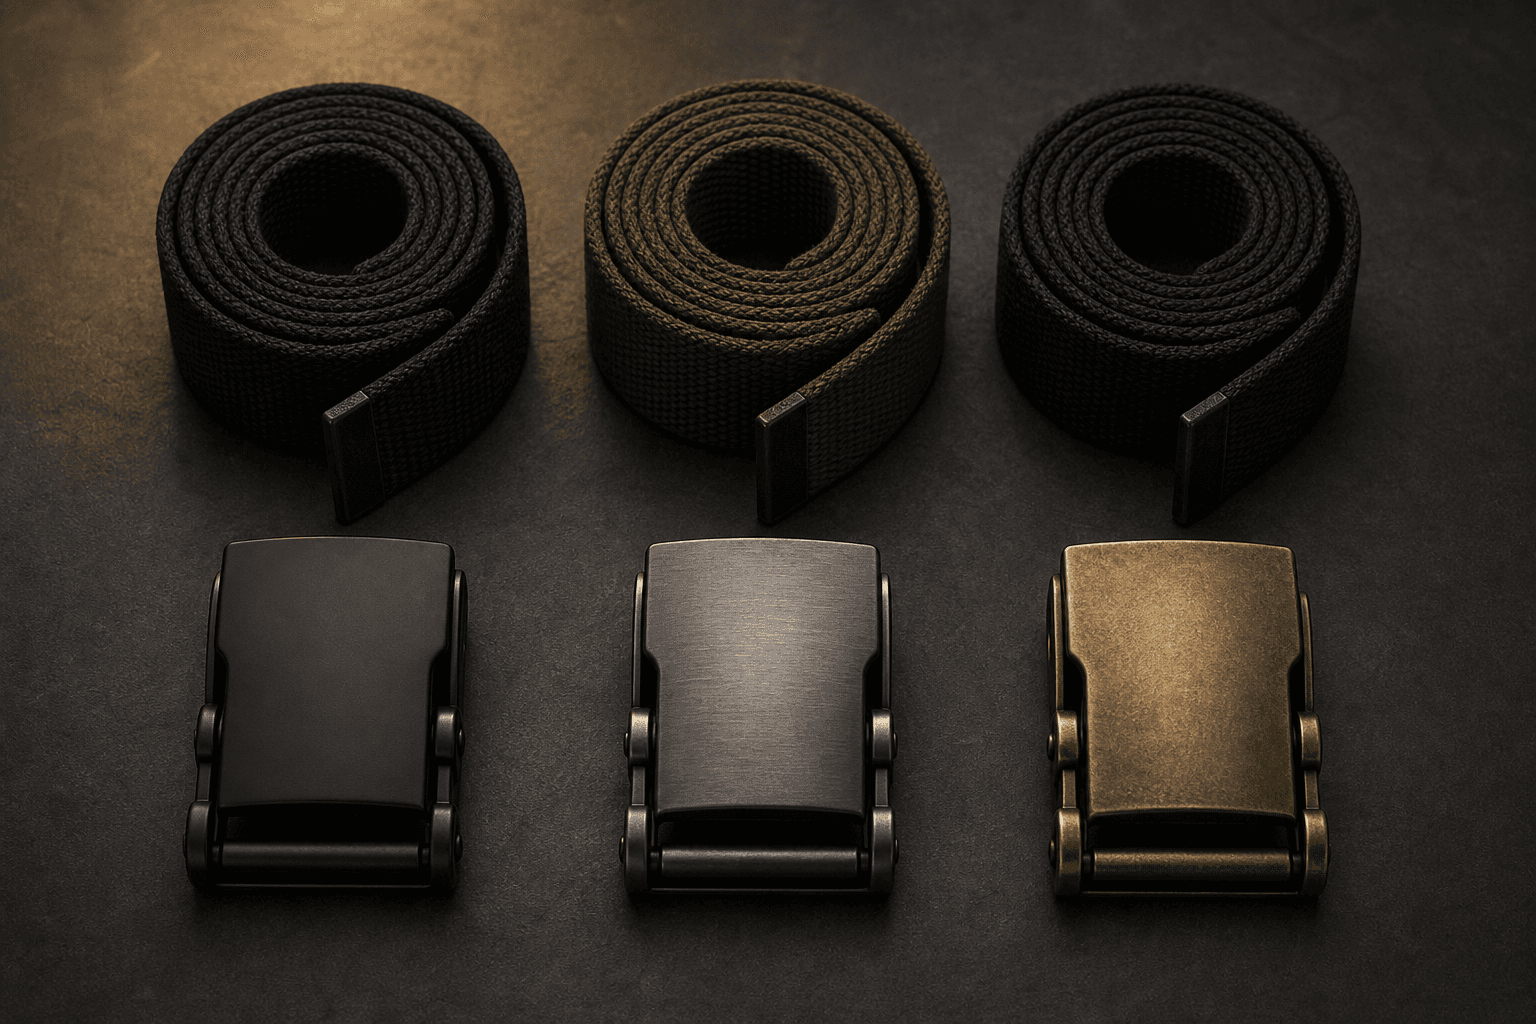
Hardware finish strongly affects perceived value and category. Matte black can read technical and understated; brushed dark metal can add a utility feel; warm brass-toned finishes can shift a belt toward heritage or lifestyle styling. The right choice depends on the collection, webbing colour, logo treatment and the images your customers will see first.
Place finish samples next to the actual webbing and view them under consistent lighting. Record the approved finish with images and a clear description. Visual names such as ‘black’ are often too broad on their own. If the buckle carries branding, confirm the visibility and placement together with the finish because contrast changes what a mark communicates.
04.
Ask practical questions before sampling
A high-quality inquiry is a way to reveal risks early. Share the target belt width, webbing type, desired adjustment method, finish reference, logo request, use setting and estimated quantity. Ask what information is required for the supplier to propose the appropriate buckle path, and request that assumptions are stated in the quotation.
The best supplier responses are not always the shortest. They clarify what is known, identify open choices and give the buyer a sequence for approving hardware, webbing and branding. That structure makes later sample feedback much easier to interpret.
05.
Make sample review repeatable across your team
Create a simple review sheet for the buckle sample. Include the appearance of the front face, perceived finish, interaction sequence, webbing alignment, logo treatment and any issue observed by a reviewer. Photograph the front, back and adjustment path. This avoids the common situation where a team approves a general impression but has not documented the aspects that must remain consistent.
If reviewers disagree, return to the user scenario. A merchandising team may prefer a lighter visual profile, while an operations team may be focused on adjustment. Both insights matter, but the final instruction should explain which priority governs the product.
06.
Connect hardware choice to the rest of the program
A buckle affects packaging, product photography, assembly and any story your sales team tells. Include it in the launch plan. Consider whether the product page needs a close-up of the release action, whether packaging should protect the finish, and whether the same buckle will be used across colourways. Treating hardware as a visible brand component makes the collection more coherent.
For future reorders or range extensions, preserve the approved hardware reference and the reasoning behind it. This is especially useful when multiple teams, regions or agencies work on the brand over time.
07.
Close with a clear approval route
Before production, consolidate the approved buckle information: reference image or sample, finish, strap width, webbing path, visible logo detail, compatibility notes and packaging direction. Identify who signs off the next proof or sample. This clear handoff is a practical form of quality control because it connects the buyer’s intended experience to a record the project team can use.
If you are at the idea stage, you do not need every answer to begin. Send the use case and visual direction first. A focused discussion can turn them into a product-ready decision sequence.
FAQ
Buyer questions, answered.
What information should a buckle supplier receive?
Provide strap width, webbing direction, intended use, adjustment expectation, finish reference, branding request and destination market.
Can I select a buckle from a photo?
Use photos to communicate direction, then review the proposed buckle with the actual webbing and collect approval notes before finalising.
How do I document a buckle finish?
Use an approved physical or photographic reference, a written description and notes on logo treatment and viewing conditions.
PRODUCT LINKS
Continue with a relevant product or development page.
Ready to source?